Dec 31, 2010

Kitchen Remodel: Post #2

The inspiration behind the forthcoming plan is threefold:
  1. Late 1920's kitchens
  2. This amazing remodel
  3. Our budget of $1,500. Hopefully, in 7-10 years we'll have enough money saved up to bump out the back of the house and build the kitchen of our dreams, but right now we're working with what we've got and not losing sight of the fact that it's a band-aid covering up a giant dream of ours. With that in mind, making the space feel more like home is important, but spending tons of money on something that we're dying to rip out isn't very practical.
Speaking of: We'd love to rip out our old tile and refinish our hardwood floors and replace our white silestone counter tops with a light gray granite, but neither are in the budget at the moment so we're sticking with those basics and working around them.  Sure we've got a vision, but we're also clueless.  If you have a sense of style or an ounce of expertise that you'd like to share, we welcome your comments!

Because the kitchen is primarily an addition to the original home, a lot of the nice moulding that is present in the rest of our place just isn't there.  Our hope is that adding this 4.5" crown moulding to the room will bring in a little character:
We'll update our cabinets with new doors from Barker that are like the shaker-style doors of the 20s but with a little more detail, which we love. They were a total steal: new doors and hinges came to $477.19 including shipping. We're painting them the gray-green that you saw in this previous post and using our existing hardware:

I can't wait to replace the existing can light over the sink with the same pendant light we have hanging over the island:

We'll also be updating and refreshing a few things around the kitchen with paint and, if I find the right deals on Craigslist, possibly updating one or two of our black appliances. Here' what we think the order-of-events will look like:
  1. Replace half-bath door. (more on that later)
  2. Paint remaining base trim and doors to basement and backyard. (completed on 12/30)
  3. Knock out odd built-out wall on top of fridge. (completed on 12/30 - This project gets its own post tomorrow.)
  4. Knock out ugly shelf behind bar/island.
  5. Patch dry wall. Determine whether or not we're any good at it.
    1. If we are, center the existing pendant light over the island.
    2. If we're not, wait for my dad to do it.
  6. Prime walls.
  7. Give the ceiling a fresh coat of paint.
  8. Add crown moulding to the room.
  9. Paint walls in a pale, pale gray.  
  10. Remove existing cabinetry and hardware.
  11. Fill in holes in cabinet frames from previous hinges.
  12. Sand, prime and paint cabinet frames.
  13. Prime and paint new cabinet doors
  14. Add hardware to new doors
  15. Hang new doors (this includes drilling holes in the existing cabinet shells - here's to hoping our level and patience are in working order that day!)
  16.  Replace can light over the sink with a matching pendant.
  17. Fix the tile under the fridge that broke during the switcheroo.
  18. Have my mom sew some curtains (Dear Mom, Will you please help me make some curtains for my new kitchen? Thanks!).
  19. Throw a party to show off our new space. Three drinks into the evening, begin thinking about the three remaining projects for the kitchen:
    1. Replacing the island countertop with a butcher block.
    2. Adding creative storage/shelving above the island where the previous shelf was.
    3. Find the perfect rug.
So there you have it, folks. Our plan to personalize and update our kitchen into a 1920's throwback. We'll be updating this blog with lessons-learned and our small moments of success along the way so check in often and tell us what we're doing wrong before we turn into the worst episode of Holmes on Homes ever. I can't stand that guy.

Dec 30, 2010

Kitchen Remodel: Post #1

When we moved into our home, our kitchen looked like this:


Pretty drab, huh? Our refrigerator advertised itself as "frost free" so you knew just how new and energy efficient that beast was.   Almost immediately after moving in we added new hardware, a new fridge, repurposed the awkward pole in the middle of the kitchen into a chalkboard, and improved our light fixture situation. To date, this is what we're working with:


On first glance, it doesn't look terrible.  Upon further inspection (and trust me, I've been inspecting and scrutinizing for a while now) the competing shades of white make the space look dirty and the cabinets torn out to fit the new fridge left a serious eye sore that must be addressed.  Worse are the cheap cabinets cut on the previous owner's table saw.  Add to that combo a nice dose of worn out paint and you've got quite a mess on your hands:


So with a little cash, even less know-how and a whole lot of hope we've laid out our plans for a modern update of a 1920's kitchen. Sure, we'll be burning up the cell towers between D.C. and Atlanta (thanks for your advice, Dad!) and while our hopes of a $1,500 makeover probably won't come true we are going to give it the college try. Next post: Our plans, budget and time line.

Dec 19, 2010

A pillowcase by any other name

I can't sew and I honestly don't want to learn. Once you know how to sew you are suddenly prey for non-sewers to attack with their frilly projects (thanks, mom, for my beautiful dining room curtains!). So when I saw this $3 chair at Goodwill I thought it looked like an approachable fabric-related project. How hard can a staple gun and some fabric be, right? So I purchased an extra pillow sham while frantically shopping at Target. After gathering together 1" upholstering foam, discontinued staples for the electric stapler Mark purchased at an Estate Sale for $.75, and antique white spray paint I was ready to go. I stuffed the seat and cushion into the pillow case, flipped it over and got to stapling. This might be the easiest project to date. I'm no expert stapler or upholsterer, but I think it's nice to have a perfectly coordinated chair in the guest room. Thanks to Thomas O'Brien and Goodwill, I've got a really affordable chair for my guests.

Try (not) to set my night on fire!

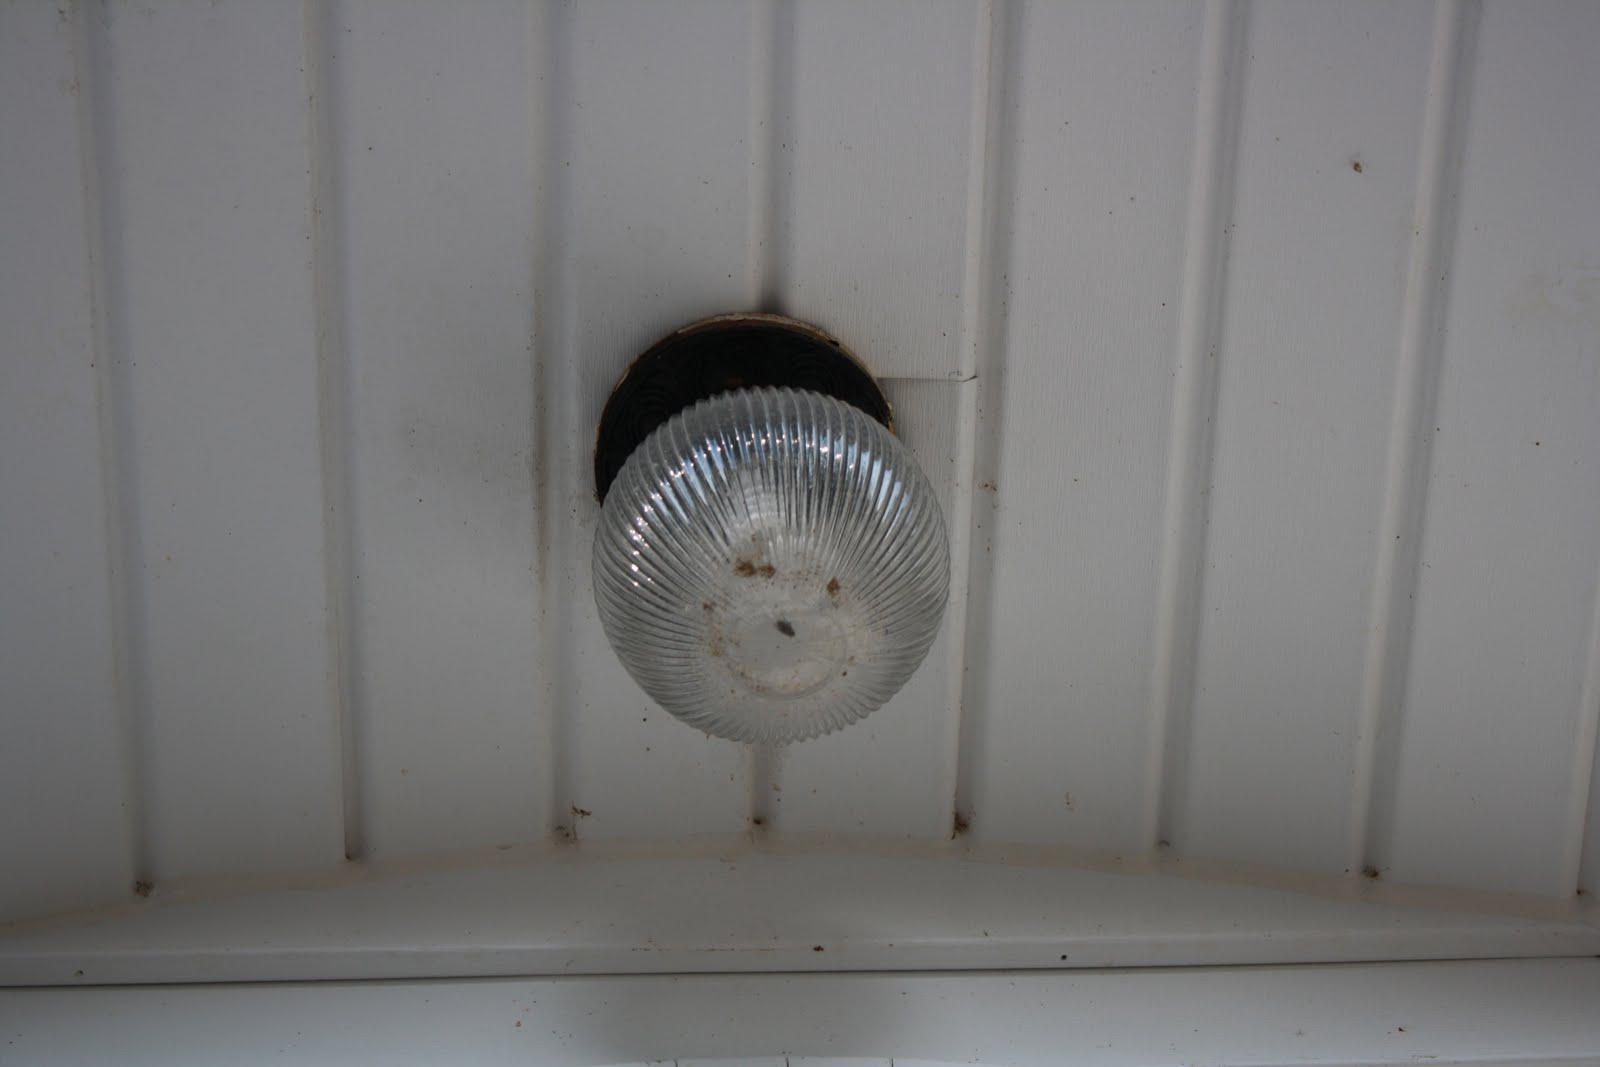
Keeping true to my previous Doors reference, I really do love light fixtures. So today, while I baked cookies for family and friends, my darling husband completed yet another light fixture project. Before we had this boring little globe that was beautifully adorned with bugs inside. Not exactly my cup of tea.


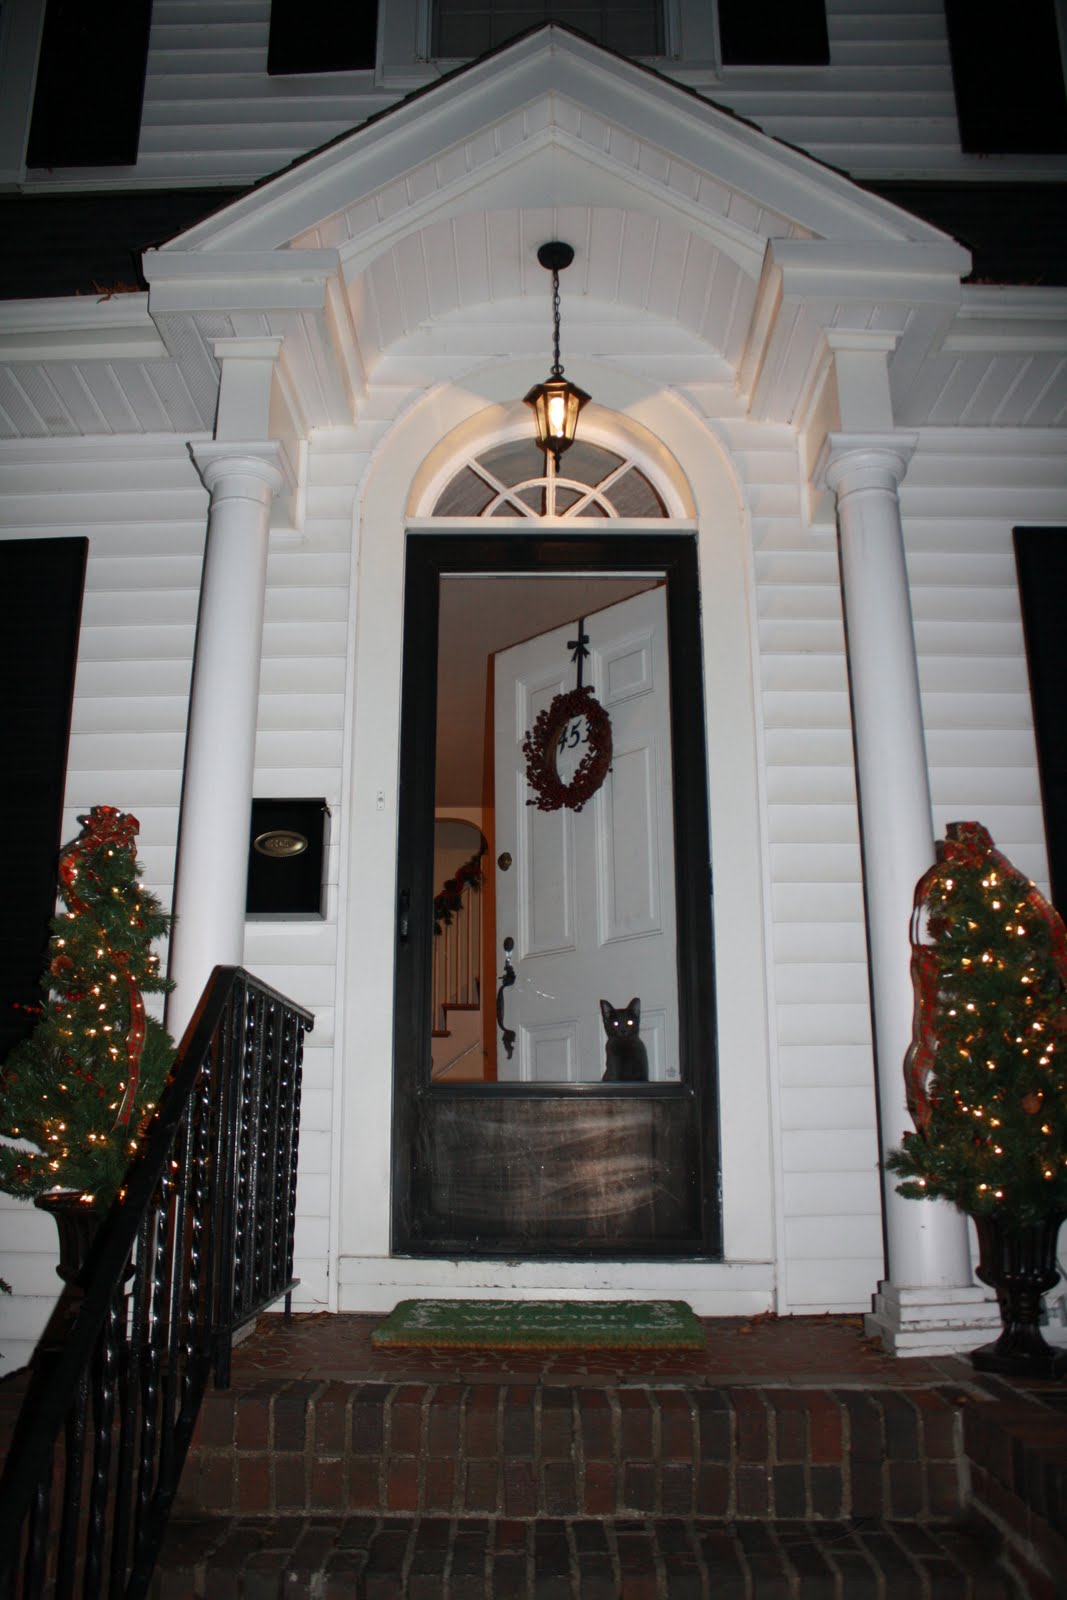
Mark has slowly become a light fixture expert (total light fixtures to date: 9) so we thought this 10th fixture would be no sweat. He began by removing the existing light and low and behold, there was no electrical box. You read that correctly. No electrical box to be found. Just two wires sticking out from the eave, covered with original cloth insulation, which disintegrated to the touch. I'm sure an electrician would tell us to install an electrical box. We busted out some electrical tape, wrapped the wires and mounted the new fixture straight into the overhanging eave. This beautiful new fixture was also purchased at the light shop in Fredericksburg, VA, but it was a steal at $18 dollars.

Total Project: $21

Outcome: A much friendlier entryway to our home and one very happy wife! Frank looks happy about it, too!